Knowing how to defrost an upright freezer is an easy thing to do. However, to successfully complete this task, you will be required to go through several important steps.
Defrosting your freezer is something you will need to do at least once a year if there is an ice build-up on the inside. Failing to do this will result in incorrect temperatures circulating in the freezer, and this could lead to problems with your frozen food.
Why Your Freezer Develops Frost
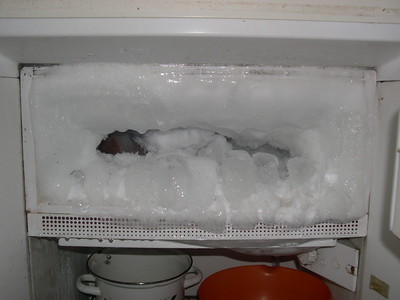
Your freezer will develop frost thanks to the air entering whenever you have the door open. The air on the outside will tend to have more moisture, and when it hits the cold in the freezer, it turns to frost.
All of this builds up over time, and you start to see layers of frost building on the inside. This may not happen if you have a frost-free freezer, as they use technology to stop this from becoming an issue.
However, not everyone has this technology, so knowing how to defrost an upright freezer will be important. With that in mind, let’s go through the different steps.
Why You Need to Defrost an Upright Freezer
So why do you need to keep an eye on whether or not you need to defrost your freezer? Well, there are numerous reasons why freezers build up frost. We even mentioned one of the main reasons above, which would lead to you needing to defrost.
But ice in freezers will cause problems.
First, ice in your freezer reduces its ability to regulate temperature. The cold air cannot move around the freezer thanks to large chunks of ice appearing. It will also reduce the space you have available when ice takes up some space on the walls or even on the door.
But there’s another problem, and it’s linked to the fridge that may be connected to your freezer.
A fridge will often take the air from the freezer, which is then circulated to keep the food nice and cold. If the freezer is unable to work correctly, then it can affect the entire appliance, so your fridge will also suffer.
But you can avoid all of these problems if you defrost your freezer at least once a year. Not only will it stop food from being wasted, but it does mean the defrost process won’t take as long if you do it correctly.
A Step-By-Step Guide to Defrosting an Upright Freezer
In order to defrost a freezer, you won’t need too many items. All you will require is some time and a few old towels.
Of course, you also need to know where you will be putting your food while you defrost your freezer. This can take a few hours, and you don’t want the food ruined in the process.
But aside from those towels and some cleaning products, you won’t need anything else when you come to defrost your freezer.
Step 1: Unplug the Freezer
The first thing to do is to unplug your freezer. You need to stop the power from getting to it to then allow the defrosting process to begin. This is the easy part when it comes to starting to defrost a freezer.
Step 2: Empty All the Contents
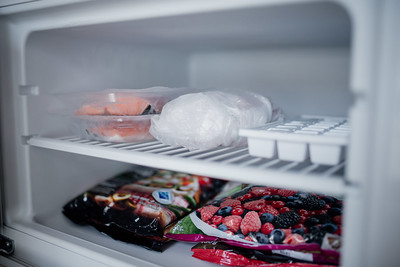
You should then look at emptying all of the contents from your freezer. In an ideal world, you will have worked at reducing what is stored in your freezer before you go through the defrosting process. That makes it easier to deal with all of the frozen food that is kept in there.
In order to care for the food that you remove, consider buying a freezer bag and having ice blocks at the ready. That can help to stop the food from completely defrosting while you go through this process, but you still need to defrost your freezer quickly.
Step 3: Keep the Freezer Door Open
There is nothing scientific about this part, but you need to keep the door open if you want to defrost your freezer. You will see that the ice melts because of the warm air, not then coming into contact with the cold air in the freezer since you switched it off.
But this takes time, so you may want to speed things up a bit, and there are several ways in which you can do this.
Step 4: Using Boiling Water
One way to speed things up is to use some boiling water. Now, we aren’t saying to throw boiling water over the inside of your freezer, but rather leave it inside the freezer and watch as the warmer air has an impact on the ice. Warm water will help to lift the temperature inside your freezer, and you should start to see that ice build-up melting before your eyes.
Step 5: Using a Hair Dryer
If the ice build-up is not too bad, then you can get things to melt faster by using a hairdryer. Use the hot air to, once again, lift the temperature on the surface of the ice. It will certainly lead to you being able to defrost your freezer quicker than you thought, so get your blow dryer and see the difference it will make.
A Warning
As we are talking about how to melt the ice faster, we have a word of warning. Never use an ice scraper or a plastic spatula to remove the ice. You should never scrape the inside of the freezer at any point. This will only damage the inside of your freezer, so you must only ever stick with trying to melt the ice using the methods we have mentioned above.
Step 6: Dealing With the Water
So as you are turning the ice into water, you need to know how to deal with the excess water. How much water depends on how thick the ice is in your freezer, but how you catch it depends on your freezer.
Some freezers come with a drain plug. If that’s the case, remove the plug, and the water in the freezer will go through the hole. Of course, that means you need to get the drain hose and extend it out from the freezer. Put the end into a dish so it can catch the water.
But if you don’t have this option – and most people won’t have it – you need to think about other methods.
The best method is to use a dry towel and place it at the bottom of the freezer. However, you will need several of them when you defrost a freezer. Aside from old towels, you may want to use sponges or anything else capable of soaking up water when defrosting your freezer.
Step 7: After the Defrosting
So what do you do after the defrosting has been completed? Well, we don’t recommend simply throwing the food back into the freezer and closing the door. Instead, this is the perfect opportunity to go ahead and clean the inside of your freezer.
There are several ways in which you can do this. You can use some soapy water to wipe over the inside. Make sure you have rinsed all the soap off before switching the freezer back on.
Another method is to use baking soda. This is great if there are marks since it does add some roughage and can break up those stains as a result. This is a popular method, and it does produce some fantastic results.
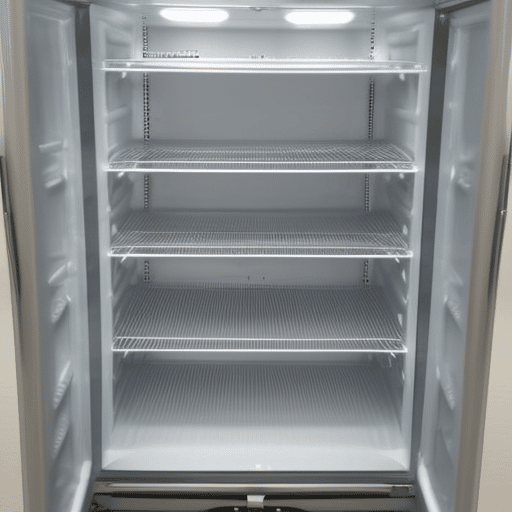
Remove the shelves in the freezer and wash them. Remember also to wipe the inside of the door and the floor of the freezer. Once everything is clean, put it all back together.
Step 8: Restocking and Switching On
Once you have been able to defrost your freezer and there’s no ice left, then it’s time to switch everything back on. At this point, you can put your food back into your freezer. Do this now, as different freezers will get back to the temperature in next to no time, so things will be frozen rather quickly.
How long it takes depends on your freezer and the speed at which it works. However, the entire process of getting down to the correct temperature should not take long at all.
Tips for Defrosting
Finally, we have some additional tips to keep in mind when you want to defrost a freezer. The hope is it will make life easier for you.
Defrosting a Freezer Quickly
If you want to defrost a freezer quickly, then don’t hit it with too much heat at one time. Yes, hitting the freezer with a lot of heat will lead to melted ice, but the inside of your freezer is not really built for that.
Instead, we recommend combining the water and hairdryer methods we mentioned earlier. Trying to defrost a freezer using several sources of warmer air will speed up the process, and you will be able to defrost your freezer thoroughly.
Removing the Ice
Please never use any appliance or tool to remove ice from the walls, floor, or any part of the freezer. You have to be careful with what you put on the surface of the freezer, and that is why we stress the need to wait for the ice to melt.
If you want to move ice out that has perhaps fallen, use something gentle, like a wooden spoon, but if it remains stuck, then wait until it has defrosted more to remove it.
The best approach is undoubtedly to just wait and use towels to mop up the ice from the freezer. Also, let it fully defrost before you do anything else.
Cleaning the Freezer
Do not think that cleaning products will help with the ice. Instead, allow everything to defrost in your freezer before you get started. Only use gentle products inside your freezer, as you would with your fridge, and don’t use too much elbow grease.
Your freezer should not be difficult to clean.
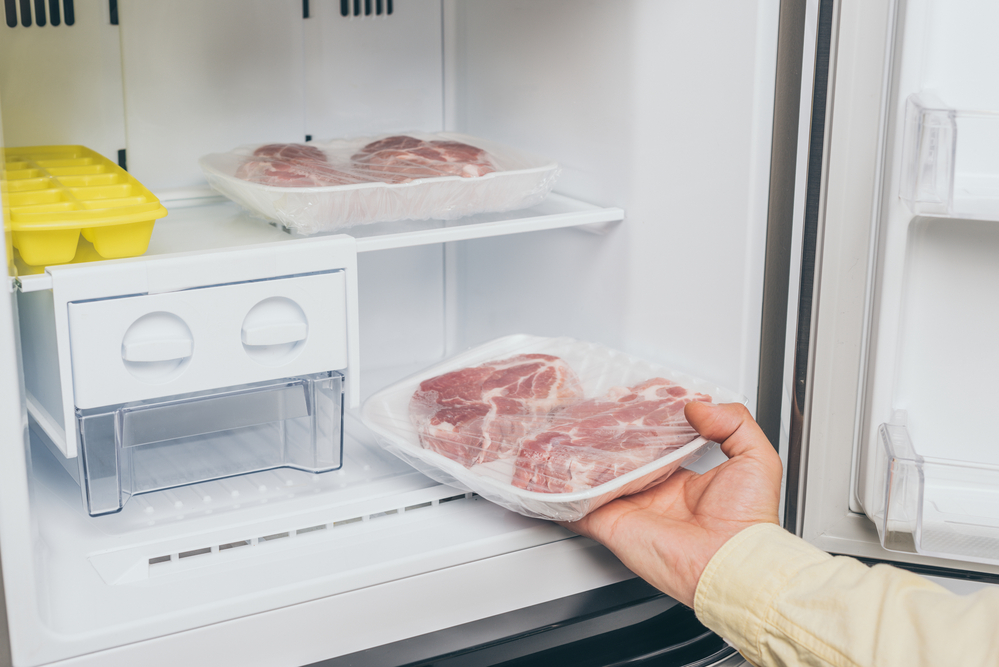
Check Your Food Hasn’t Defrosted
The final tip is a simple one, check your food hasn’t been defrosted before you put it back into the appliance. This will depend on how you have treated the food in the first place, as you should have taken steps to make sure it wouldn’t be defrosted. However, if it has, you need to throw it away as defrosted food cannot be frozen again, or it might become a health hazard.
Start Defrosting Your Freezer
And that is how to defrost an upright freezer. It’s an important thing to do, as explained above. Make sure you take that opportunity to clean the inside of the appliance, including the shelves and walls, before putting your food back inside. Overall, it should not take too long to do, and then you know you won’t have to defrost things again for some time.